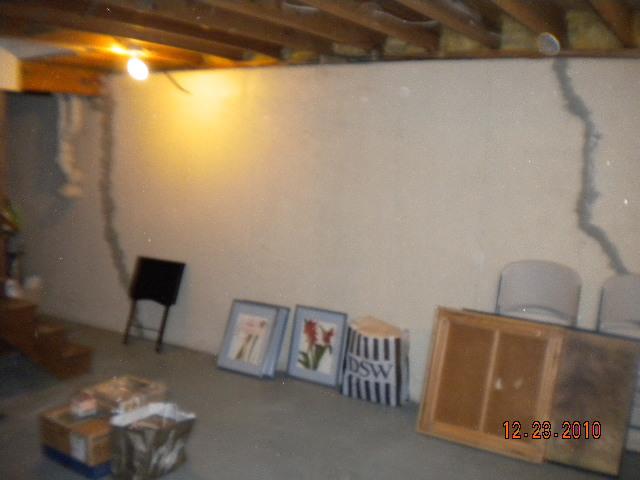
Before
As you can see on the walls are few cracks. Those are from foundation settling.
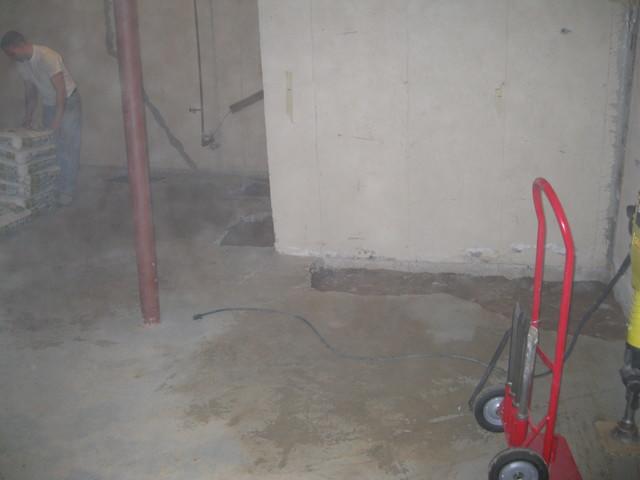
After
Once the holes are filled in were ready to pour the concrete.
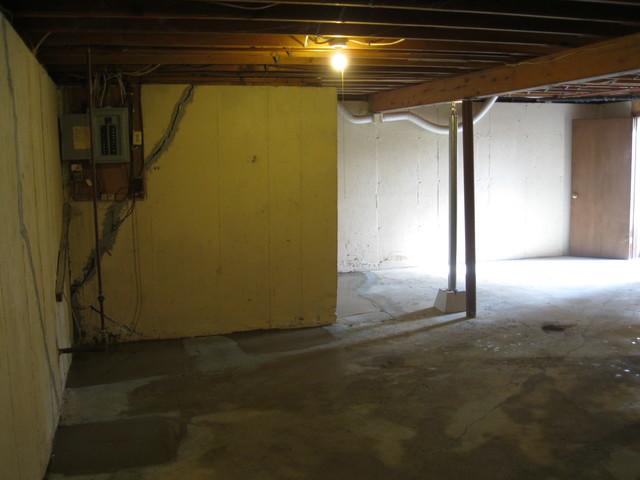
After
Concrete has been poured and is drying, the job is finished. In this picture you can also see the SmartJack installed.

Beginning
We start our Push pier process by removing the concrete and digging down to the foundation footing.
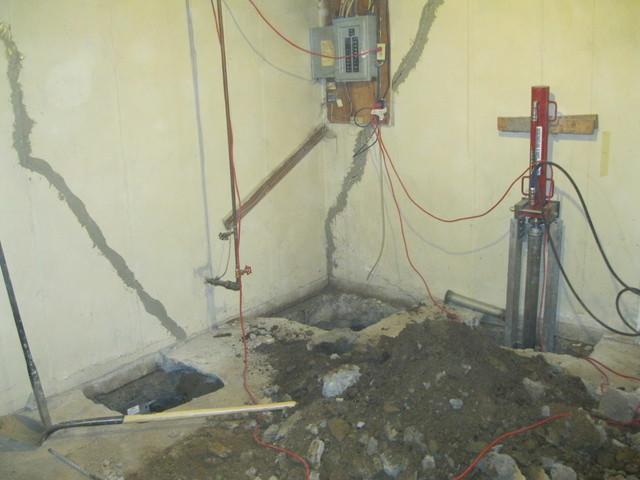
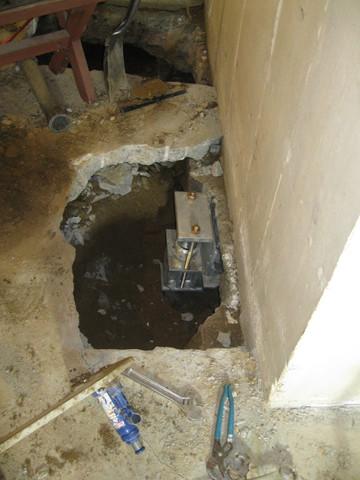
During
A heavy-duty steel bracket is then installed below the footing.
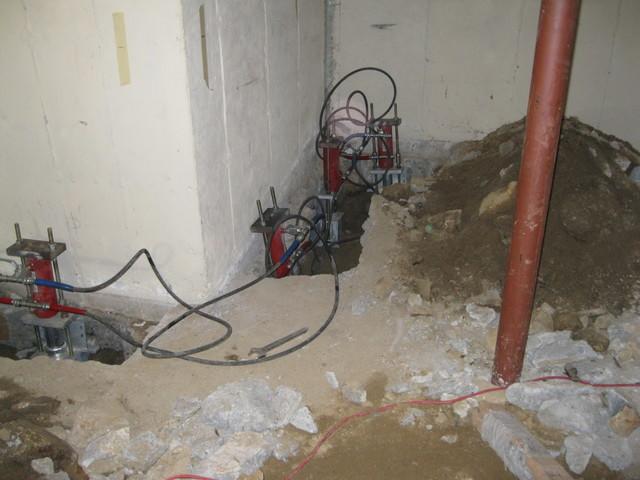
During
Interlocking steel pier sections are then hydraulically driven through the bracket until bedrock or stable soil is reached.
After
Once the foundation is stabilized and lifted, the holes are ready to be back filled.
