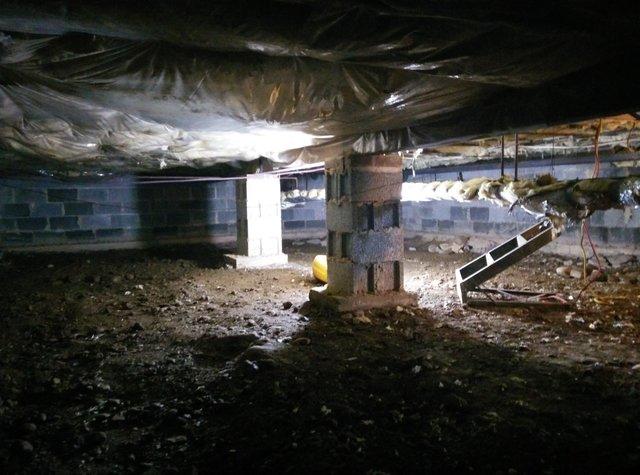
Before
Dirt crawlspace, in need or our encapsulation system.
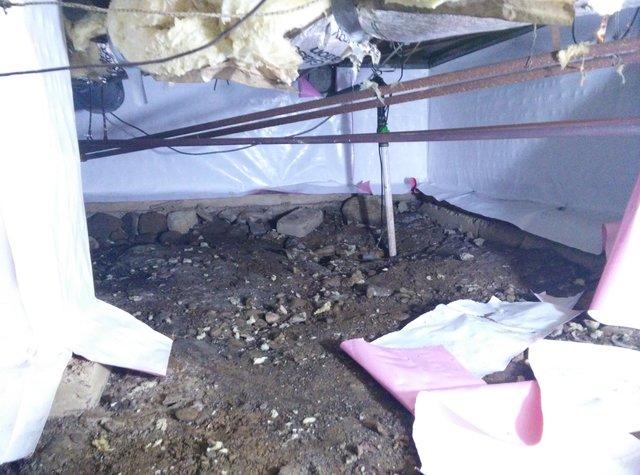
During
First step is to attach the CleanSpace vapor barrier to walls.
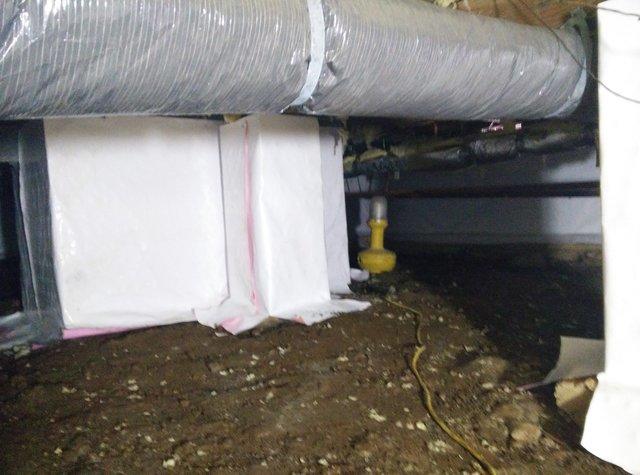
During
Then CleanSpace is wrapped around piers, columns, pipes and other obstructions.
During
Finally CleanSpace is carefully fitted across the crawlspace floor.

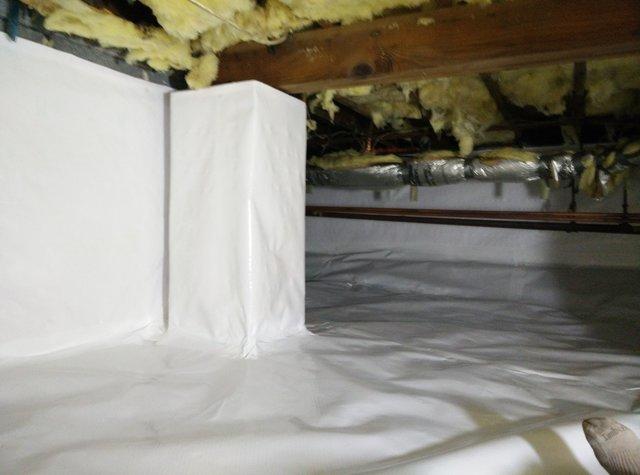
After
This dirty crawlspace has been transformed into a clean, dry place that can be used as storage.
