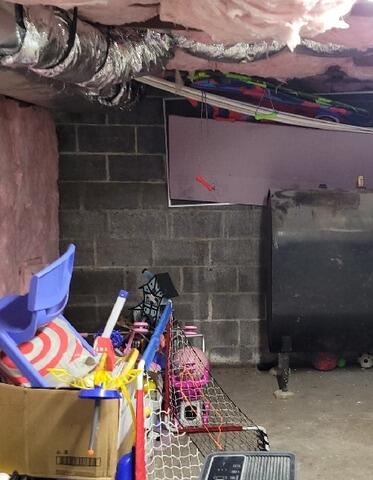
Before Waterproofing
This is where our sump pump would get installed.
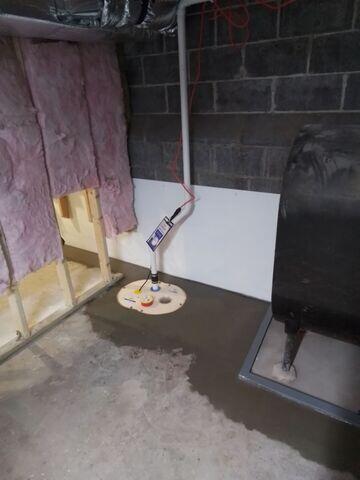
SuperSump Plus Sump Pump
Our crew installed this sump pump, along with our WaterGuard drainage system to eliminate and pump out all the water coming into this basement.
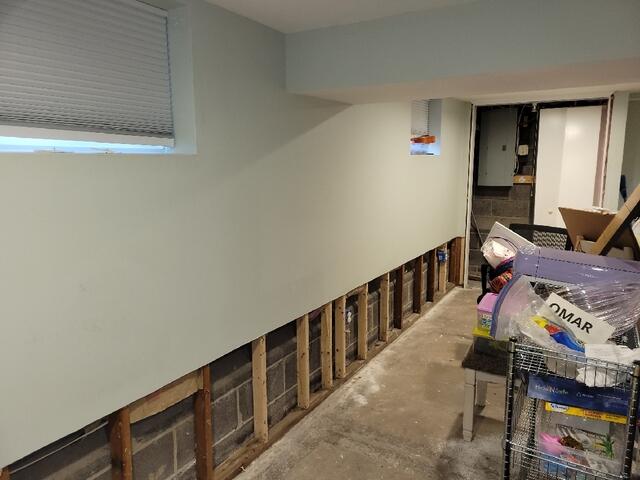
Before WaterGuard and CleanSpace
This is where our drains and CleanSpace get installed.
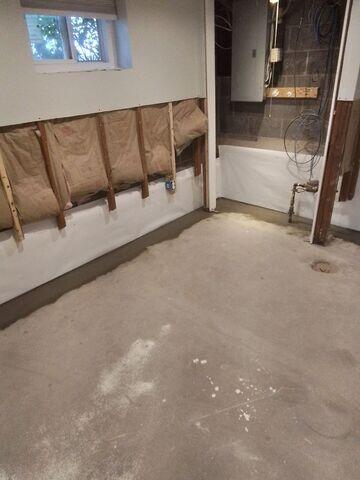
WaterGuard and Half Wall of CleanSpace
Our WaterGuard is installed below the new cement as seen in the image. It will collect any water coming in from the walls/floors. The CleanSpace is tucked into the flange of the WaterGuard to direct any water from the walls into the drains.
