

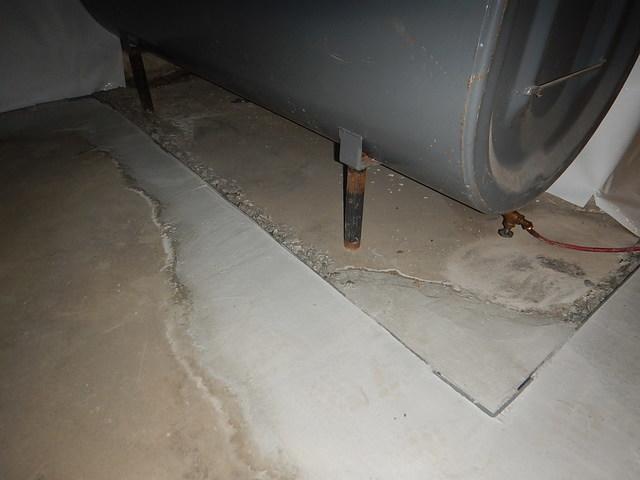
Obstacle One: Water Heater
Installing WaterGuard around existing fixtures is not an issue, and things like the water heater are not an issue.
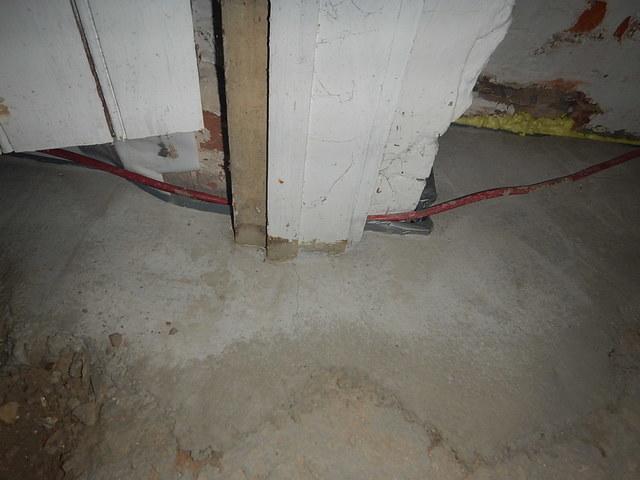
Obstacle Two: Electrical Wire
While it's important to get as close to the walls as possible, adjustments like working around electrical wire are quick and easy.
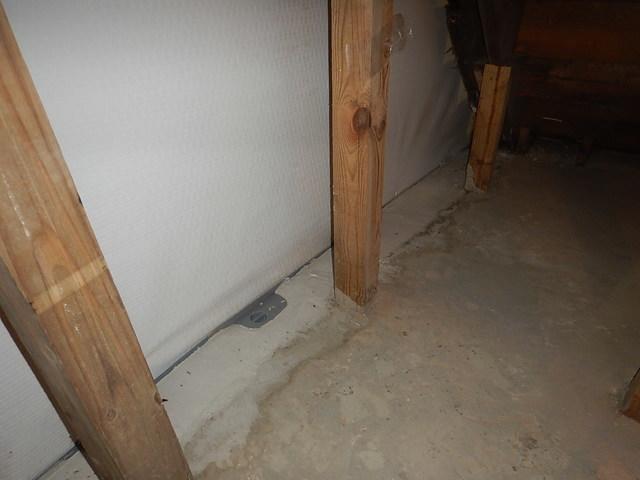
Obstacle Three: Wooden Beam
Installing little bits of WaterGuard around these wooden beams were tough, but we managed to get it done!
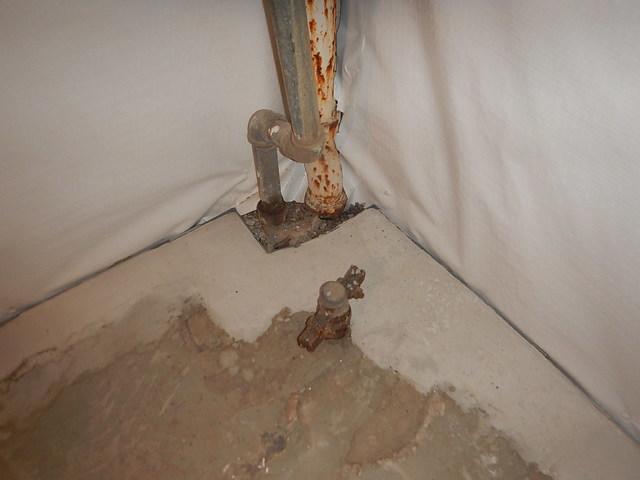
Obstacle Four: Pipes
These pipes were close to the wall, and while we try and keep WaterGuard as close to the wall as possible, we can work around this.
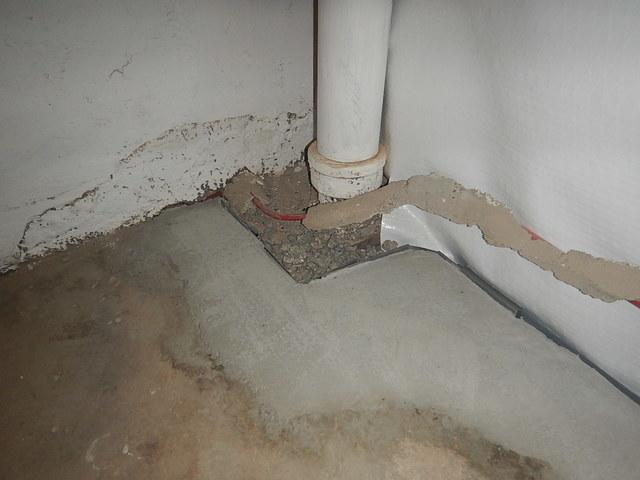
Obstacle Five: Pipes
This electrical wire and pipe were standing right against the wall. To avoid water getting on the wire, we installed the WaterGuard directly around it.
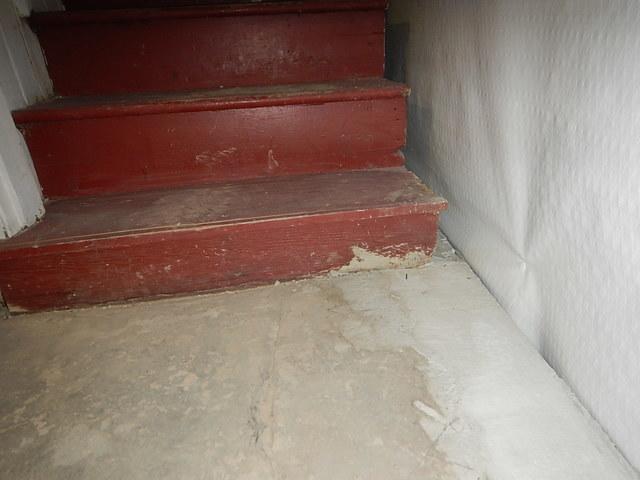
Obstacle Six: Stairs
There was a little gap between the stairs and the wall, and we managed to get a small amount of WaterGuard around them to protect the basement from water.

