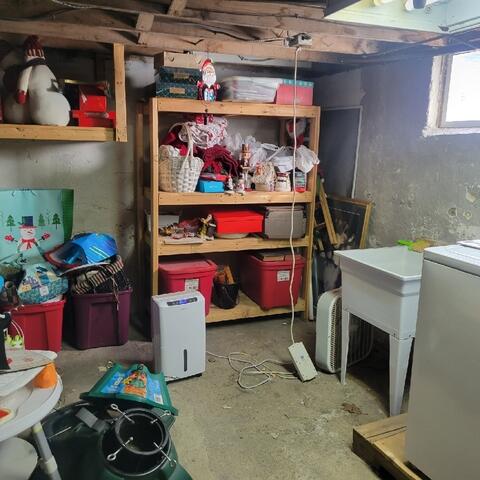
Before Waterproofing
This basement was getting water seepage when it rained, which is why this person has a dehumidifier to attempt to dry the space, but this is not the proper solution.
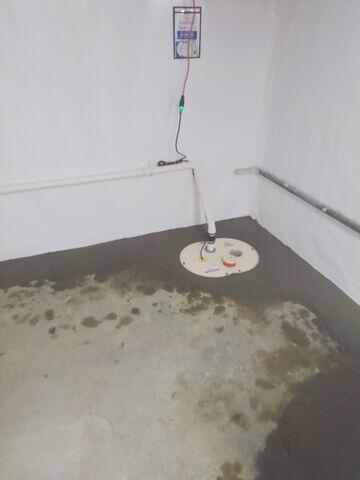
SuperSump
Our crew installed our SuperSump Plus sump pump along with our drainage system to take all of the collected seepage and pump it safely out of the home through a proper exterior discharge line.
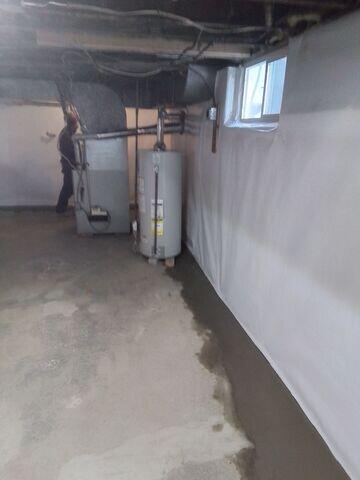
WaterGuard and CleanSpace
Our WaterGuard is installed below the floor, around the entire perimeter of the basement, to capture any water seepage. It is below the new cement seen in this image. Our CleanSpace vapor barrier was installed on all of the basement walls to protect from moisture, but then also tucked into the WaterGuard drains to lead water directly into them.
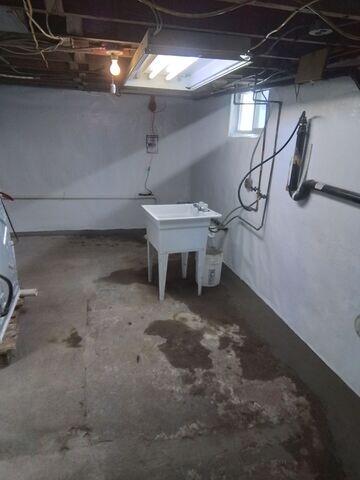
Waterproofed Basement
Hidden in the corner is the sump pump, and you can see the CleanSpace on the walls, as well as where our perimeter drains are installed below the floor.
