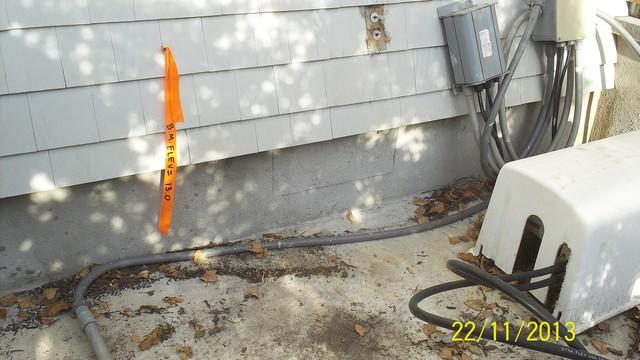
Before
First step to installing Smart Vent is to draw out on the exterior walls where they are going to go.
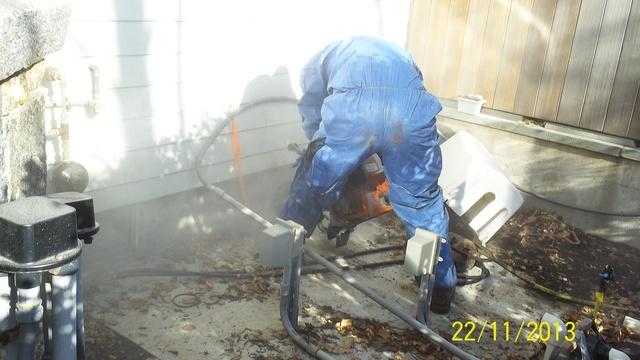
During
Then the demo starts.
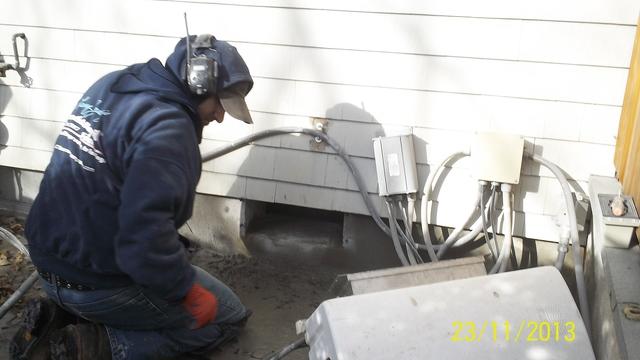
During
The portion of wall is removed.
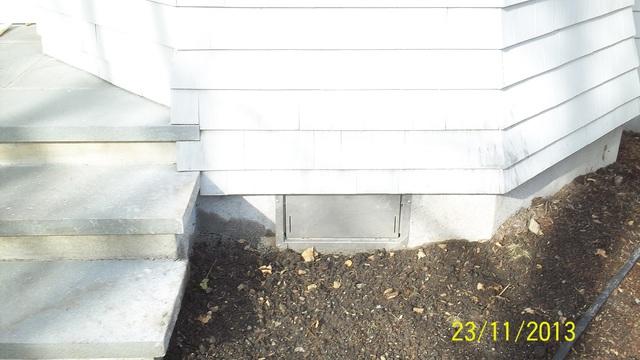
After
Once the wall is opened up the Smart Vent is installed.
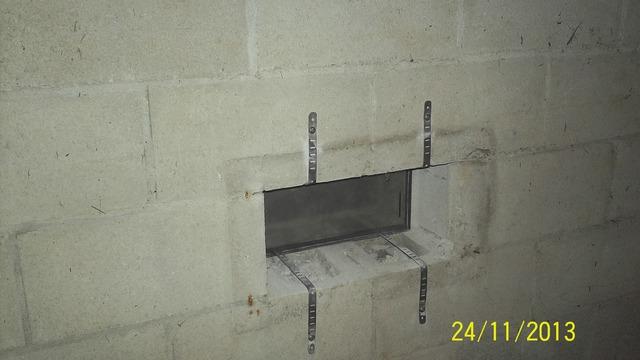
After
Smart Vent is held in place with brackets secured to the wall to insure it stays during heavy pressure from flooding.
