Before
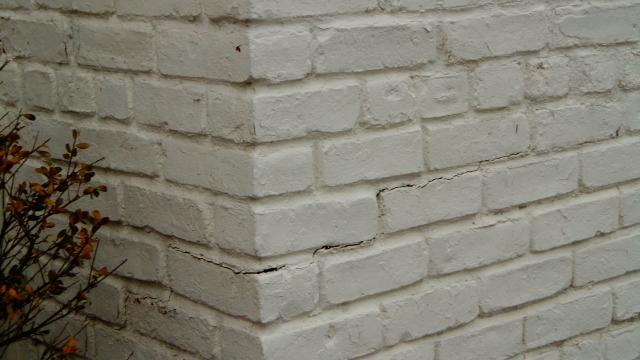
Settling foundation is the leading cause of cracks in the exterior of your house.
During
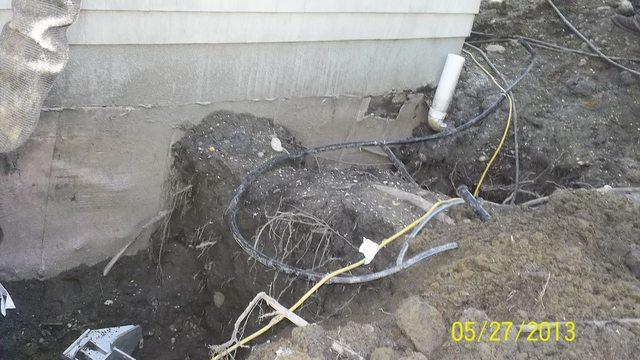
Before the installing the helical piers soil needs to be removed down to the footing of the foundation.
During
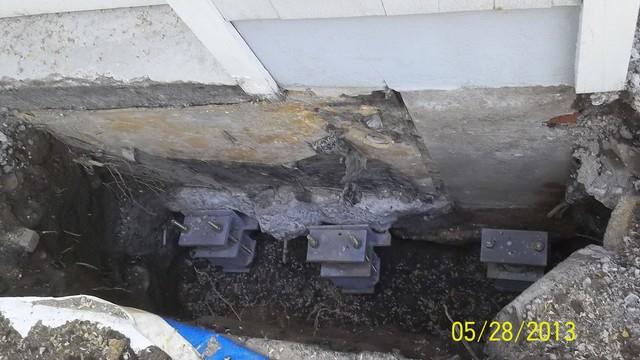
Once the soil is removed the Helical Piers are screwed into the ground. Then heavy duty duty steel foundation brackets are positioned below and against the foundation footing.
During
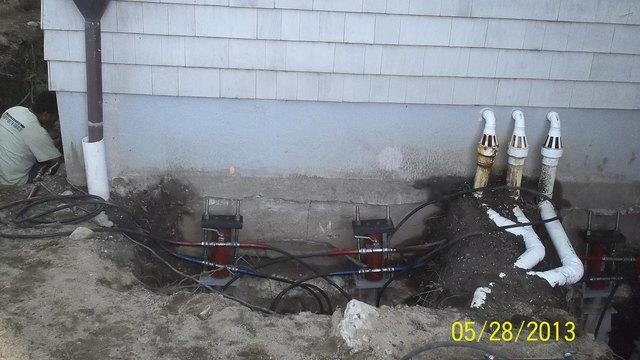
The weight of the home is transferred through the piers to load bearing strata. Home is lifted back to level if possible.
After
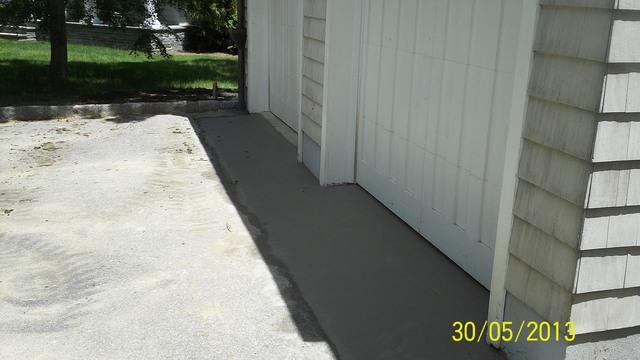
Once the foundation is returned back to a stable position the holes are back filled, and if required concrete is poured.
Before
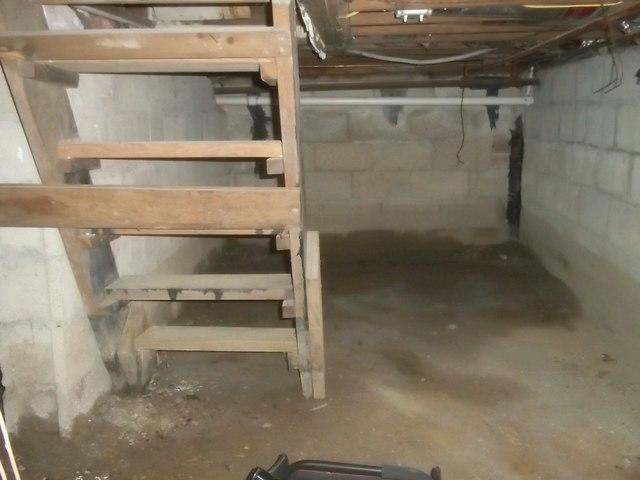
This crawl space has a wet dirt floor, not the ideal place for storage.
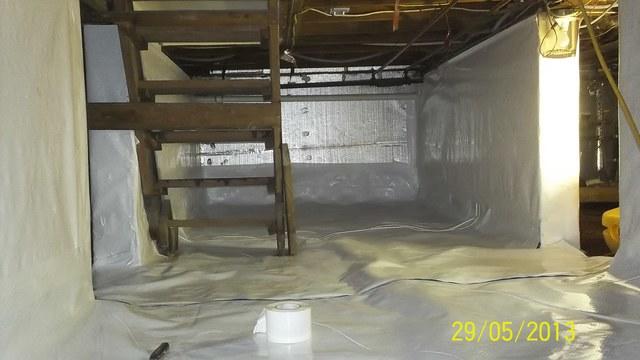
During
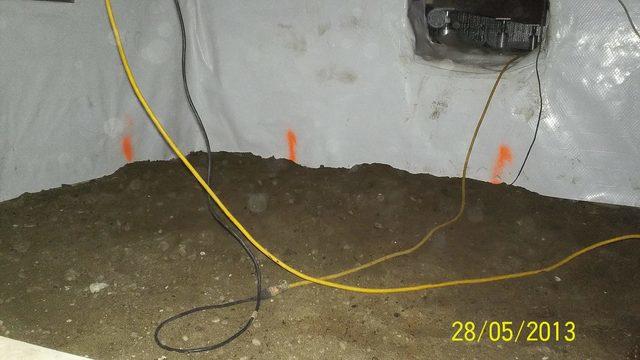
The beginning of the crawlspace encapsulation, starts with CleanSpace liner on the walls.
During
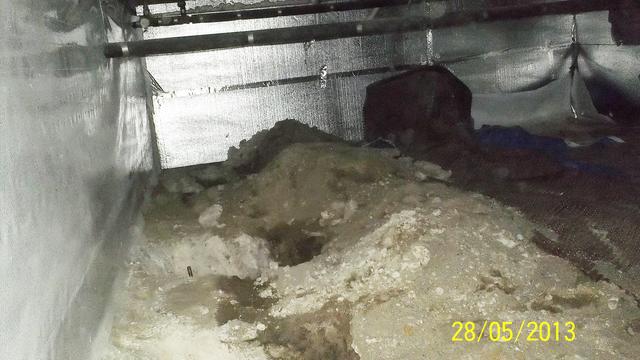
After the CleanSpace liner is applied to the walls SilverGlo insulation is installed.
During
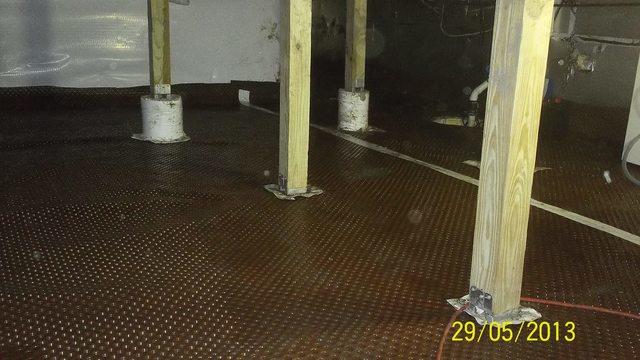
Before CleanSpace liner is installed on the floor of the crawlspace CleanSpace Drainage Matting is installed to give the water flooding into your crawlspace a channel underneath your CleanSpace liner.
After
Lastly the CleanSpace liner is installed over the drainage matting. Leaving you with a clean dry place for storage.
After
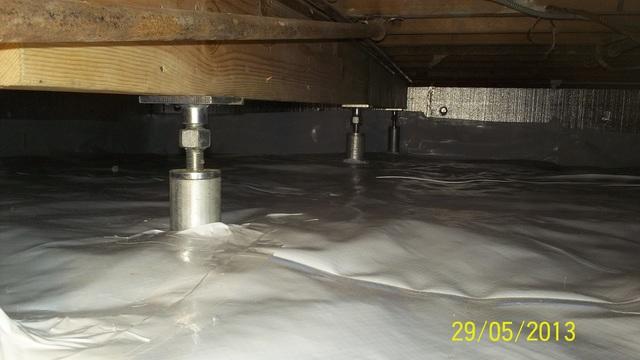
Along with providing structural support, the SmartJack System will level and stabilize the beams and floor joists in your crawlspace.
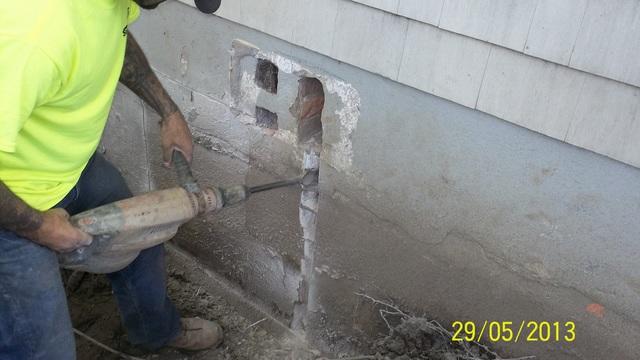
During
To allow easy access to the crawlspace we remove to section to the exterior wall to put in a Turtl access door.

After
The Turtl is a durable plastic crawl space access well that we offer as part of our crawl space vapor barrier system. Providing an airtight cover, it serves as a crawl space access well AND door combined!
